How to Style Coastal Wall Art at Home (Without the Clutter)
Some walls just work. Soft, sun-bleached prints in matching frames, spaced so the whole arrangement feels calm instead of crowded. That look reads as effortless, but it usually comes down to a handful of small decisions made in the right order. A coastal gallery wall isn’t about filling space or spending a lot. It’s about choosing a few pieces that belong together and giving them room to breathe.
You can put one together in an afternoon, whether you own your place or you’re renting and can’t put a nail in the wall. Here’s how I’d walk through it, print by print.
Step 1 — Start with prints that actually go together
The fastest way to end up with a wall that feels off is to buy prints one at a time and hope they come together later. They usually don’t: the blues don’t match, the contrast is all over the place, and the wall reads as busy. Starting from a set that’s already color-matched as a collection takes that guesswork out, because every piece shares the same palette and mood from the first print to the last.
That’s exactly why I build our wall-art as sets rather than singles. Each one is a collection in a consistent coastal palette of soft neutrals, weathered blues, and warm sand, made to hang together straight out of the download. A few to build around, depending on your room:
- Coastal Neutrals Gallery Wall Set — nine prints in airy, sandy tones. The easiest “instant gallery wall,” because nine coordinated pieces fill a whole wall with no guesswork.
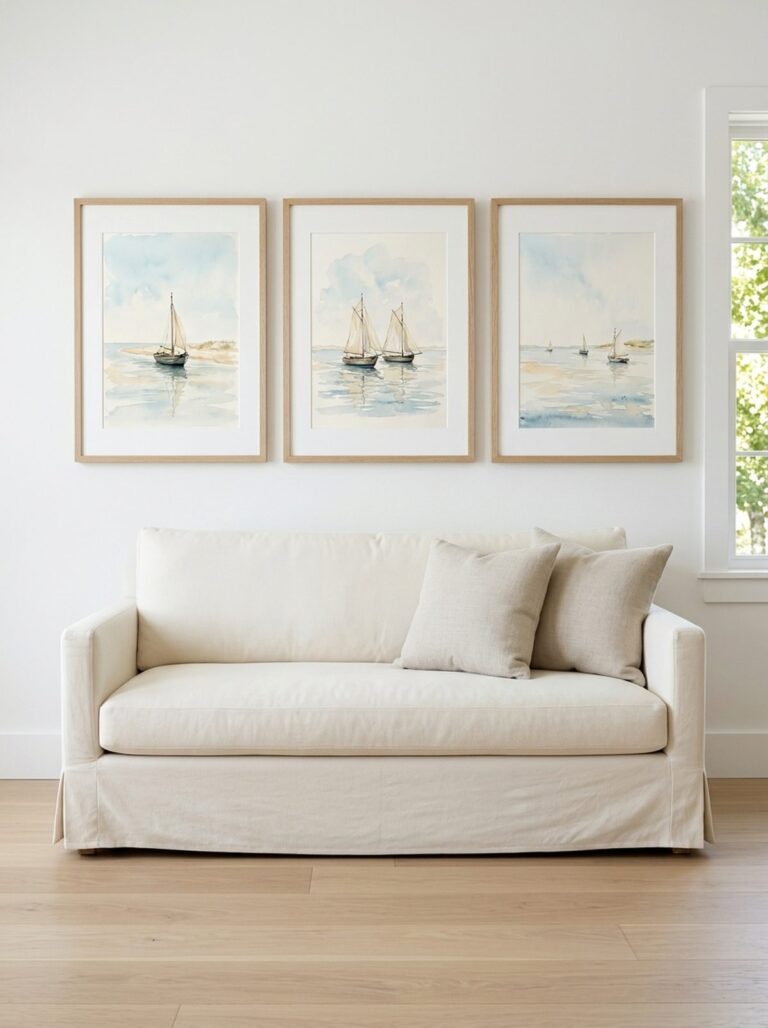
- Watercolor Sailboats Set — six soft watercolor sailboats. Nautical without tipping into theme-park.
- Vintage Nautical Maps & Charts Set — six aged charts that add a collected, well-traveled feel.
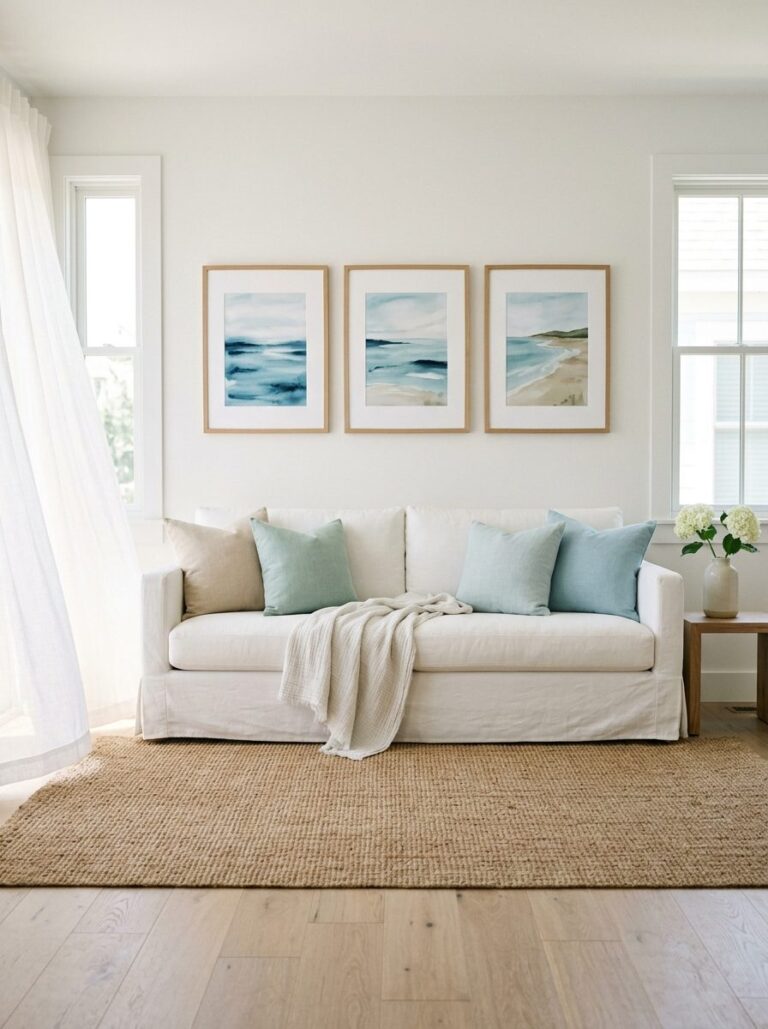
- Abstract Ocean & Sea-Grass Set — six minimalist abstracts in muted blues and greens, for a calmer, more modern room.
- Coastal Line-Art Set — six simple line drawings of shells, dune grass, and a lighthouse, for a light, understated touch.
In my sunroom I have the Coastal Line Art Set on the back wall. The simplicity of the art works well in that room.
Because they’re instant digital downloads, you print them at home, take the file to a local print shop, or upload it to an online printer. No waiting on shipping, and you size each one to the spot you have in mind. (Instant download; no physical item is shipped.)
A small rule that keeps it from going sideways: stick to one set, or pull two prints each from two sets that share a palette. Three or more collections on one wall is where “curated” tips into “cluttered.”
Step 2 — Match your frames to the print ratio
The detail that quietly separates a polished wall from a homemade-looking one is frames that genuinely fit the art. Our prints are a 2:3 ratio (the standard portrait proportion), which prints cleanly at 8×12, 12×18, 16×24, and 24×36, or matted inside an 11×14 or 18×24 frame for a gallery-mat look.
The framing and hanging products below are affiliate links. As an Amazon Associate we earn from qualifying purchases, at no cost to you.
For a coastal room, pick frames that recede and let the art carry the wall some I have used and recommend:
- A multi-frame gallery set in white, natural oak, or black is the fastest path to a finished wall, since the sizes already coordinate and you’re not hunting for matches. Gallery wall frame set
- Matted single frames in white or light wood give each print breathing room and a more elevated feel. Matted picture frames
- For a casual, no-frame look, magnetic wood poster hangers (oak with a leather or rope strap) clip the top and bottom of a print and lean beachy with no frame at all. Magnetic wood poster hangers
Whichever you choose, pick one finish and repeat it. A wall of mismatched frames reads as busy; a wall of identical white or oak frames reads as deliberate.
Step 3 — Plan the layout before you touch the wall
Don’t freehand it on the wall. Lay the framed prints on the floor first and shuffle them until the spacing feels balanced, then copy that arrangement up. Two layouts that reliably look good:
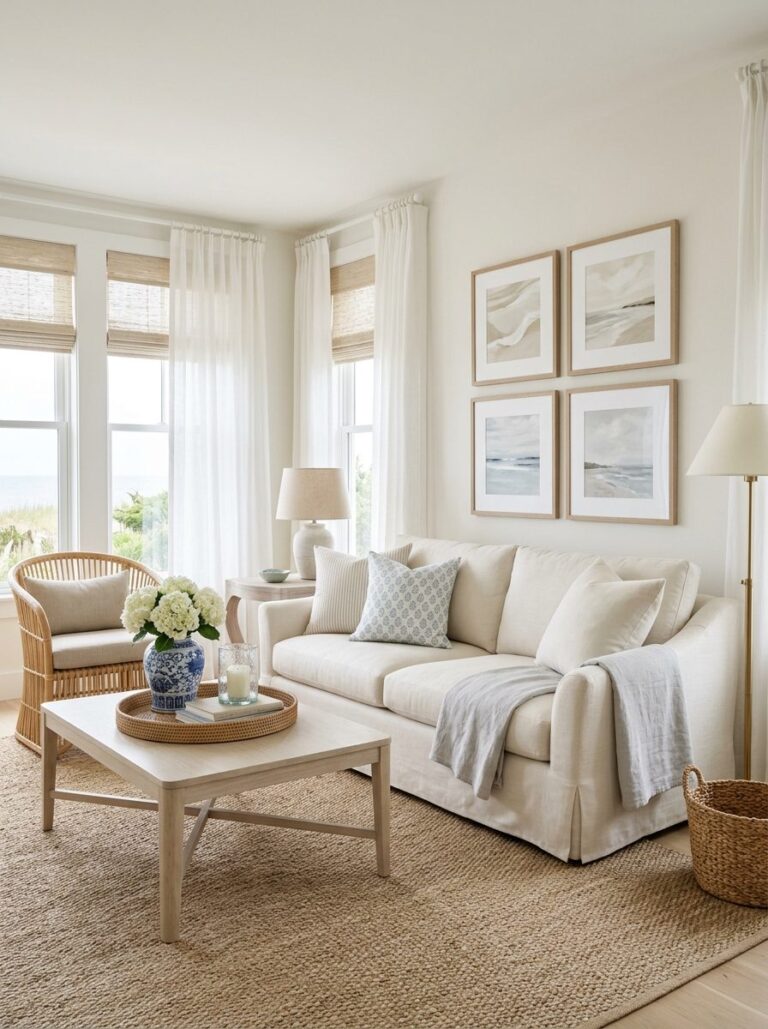
The clean grid. Same-size frames in even rows and columns. A 3×3 grid of the nine-piece Coastal Neutrals set is the classic version: calm, symmetrical, and forgiving over a sofa, bed, or console.
The organic cluster. Two or three frame sizes arranged around an imaginary center line, with the gaps between frames kept consistent at about 2 to 3 inches. Looser and more collected-looking, and it suits a stairwell or an off-center wall.
One cheap step that saves you from a wall full of stray holes: trace each frame onto kraft paper or newspaper, cut out the shapes, and tape them up with painter’s tape. You’ll see the whole layout and settle on the right height before anything goes into the wall.
Step 4 — Hang it right (yes, even if you rent)
You don’t have to be handy, and renters don’t have to put a single hole in the wall.
Affiliate links below, same as above: as an Amazon Associate we earn from qualifying purchases, at no cost to you.
- Damage-free hanging strips (the Command-style adhesive kind) hold framed prints securely, peel off cleanly with no holes, and make it easy to keep each frame level. The single most useful thing in a renter’s kit. Damage-free picture hanging strips
- If you can use hardware, a picture-hanging kit with a small level takes the guesswork out of keeping everything straight and evenly spaced. All-in-One Picture hanging kit with level
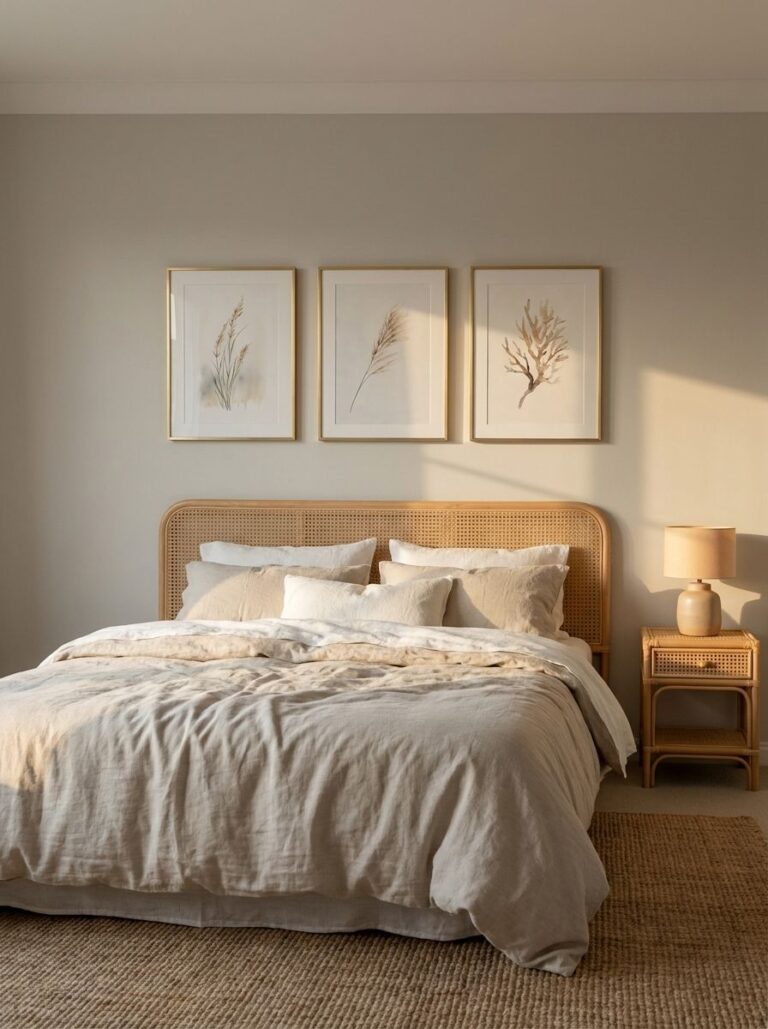
The rule that matters most: hang it lower than your instinct says. The center of the arrangement should sit around 57 to 60 inches from the floor, which is roughly eye level, and when it’s above furniture, keep the bottom frames about 6 to 10 inches above the sofa or headboard so the art and the furniture read as one group.
I had a nasty habit of hanging my art too high and then found myself too lazy to start over and fix it. Now I hang my art once correctly so I don’t need to hang the same piece twice :).

Step 5 — Style around the art to finish the look
A gallery wall rarely stands alone. The pieces around it are what make the corner feel styled instead of staged. A few coastal touches that complement wall art without competing with it:
- A woven seagrass basket for throws or magazines adds warm texture down low.
- A stoneware or ceramic vase in a sandy neutral, with a few stems of pampas or dried eucalyptus, softens the straight lines of the frames.
- A glass hurricane lantern or a sea-salt candle on a nearby shelf brings in that quiet, by-the-water calm.
For pieces like these, handmade shops are worth a look. You’ll find one-of-a-kind woven baskets, hand-thrown vases, and driftwood accents that a big-box store can’t match.
The handmade-decor links below are affiliate links; as an Etsy affiliate we may earn a commission on qualifying purchases. These are complementary pieces only, meant to style around your art, never to replace it.
Get the look
A coastal gallery wall should feel calm and unforced, and it can, as long as you start with prints that are built to go together. Pick a set, match the frames, plan the layout on the floor, and hang it with damage-free strips. That’s the whole method.
Browse the wall-art collections to start your own gallery wall → Shop coastal wall art
Free download: the Gallery Wall Layout Planner
Want a head start? Grab our free Gallery Wall Layout Planner — a printable guide with five ready-made coastal layouts, the pro trick for hanging frames perfectly level, and a spacing cheat sheet. Enter your email and we’ll send it straight to your inbox.
FAQ
How high should you hang a gallery wall? Aim for the center of the arrangement at about 57 to 60 inches from the floor (gallery eye level). Above a sofa, bed, or console, keep the bottom frames roughly 6 to 10 inches above the furniture so the art and the piece below it read as one group.
What frame size works for 2:3 coastal prints? A 2:3 print fits standard portrait sizes cleanly: 8×12, 12×18, 16×24, and 24×36 inches. For a matted look, drop a smaller print into an 11×14 or 18×24 frame with a mat.
How do you hang a gallery wall without damaging the walls? Use damage-free adhesive hanging strips instead of nails. They hold framed prints securely, keep frames level, and peel off cleanly, which makes them ideal for renters or anyone who likes to rearrange.
How many prints do I need for a gallery wall? A six-piece set covers a focal area like the space above a console or bed; a nine-piece set fills a larger wall as a 3×3 grid. Start with one coordinated set rather than collecting singles.
Can I mix different coastal print styles? Yes, but keep them in one palette. The safest move is to stick with a single set, or pull a few prints each from two sets that share the same tones. More than that and the wall starts to feel busy.
Affiliate disclosure: This post contains affiliate links to framing, hanging, and decor products. If you buy through one, we may earn a small commission at no extra cost to you, and we only point to things that actually fit the look. As an Amazon Associate we earn from qualifying purchases. The handmade-decor links are complementary pieces only; we never link to products that compete with our own art.